Microgreens – fresh greens from the windowsill
These little nutrient packages thrive on almost any windowsill! They add variety to your plate and guarantee fresh greenery even in winter.

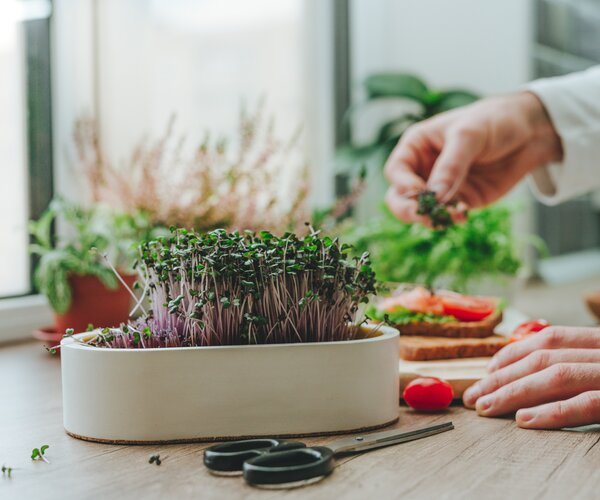
Microgreens are not only deliciously flavoursome, they also look colourful and are easy to grow. They can be cultivated on almost any windowsill, which makes them particularly practical! So whether you are an experienced hobby gardener or a curious beginner, growing these small, powerful plants is child's play and brings variety and healthy, fresh greenery to your plate.
Microgreens are not only deliciously flavoursome, they also look colourful and are easy to grow. They can be cultivated on almost any windowsill, which makes them particularly practical! So whether you are an experienced hobby gardener or a curious beginner, growing these small, powerful plants is child's play and brings variety and healthy, fresh greenery to your plate.
Microgreens – small plants, big flavour
Microgreens are seedlings of various vegetables and herbs that are harvested at a young stage. Whether peas, sunflowers, broccoli, lentils, beans, chives, rocket or parsley – the selection is huge. These mini-plants are full of nutrients such as minerals, vitamins and antioxidants, and their diversity offers countless taste experiences that enhance every meal.
And the best thing about them? You can easily grow them in your own home! All you need is a shallow dish, some soil or another substrate and, of course, the appropriate seeds. A bright windowsill is the ideal location for your microgreen garden.
8 tips for growing microgreens
1. recycled planter or professional tray
A flat tray is perfectly adequate. This could be an old baking dish, a flowerpot saucer or even a fruit packaging tray. We recommend a tray with holes to prevent waterlogging. Alternatively, there are special seed-starting trays that are particularly practical.
2. good soil as a basis
We recommend using good-quality organic soil, such as Original Bio-Schwarzerde for Vegetables. This keeps the seeds well moistened and supplies them with sufficient nutrients. Alternatively, hemp mats or kitchen paper can be used as a base.
3. presowing treatment
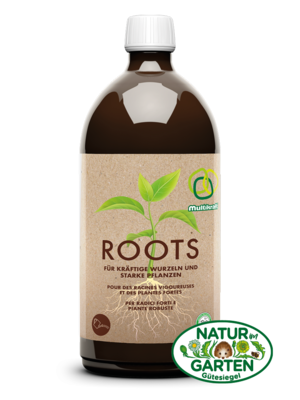
Put 1 teaspoon of EM ceramic powder in the seed bag and shake it well. Then spread the seeds evenly and very densely on the already moist organic soil. Make sure that they are not sown too deep. Press lightly and spray with water again. You can add one capful of Roots to the spray bottle for faster germination.
4. Support germination with a cover
Cover the tray to help the seeds germinate well. Another tray (for dark germinators) or a transparent lid (for light germinators) is ideal for keeping the seeds moist. The first seedlings should be visible after a few days!
5. Don't forget to water
Always keep the substrate slightly moist, but avoid waterlogging. Depending on your needs, water your small plants every one to two days.
6. Growth advantage: Optimal temperature
The optimal temperature for growing microgreens is between 18 and 22 °C. Microgreens love a consistent temperature – this is how they develop the fastest.

7. Freshly harvested and on your plate
You can harvest after just 7 to 21 days. Simply cut the microgreens off just above the substrate and use them fresh in salads, smoothies or as a delicious topping for your dishes.
8. Recycle soil
You can reuse the soil in your compost or in flowerbeds. However, it is not suitable for another round of microgreen cultivation.
Your little gardening project for everyday
Growing microgreens is not only practical, but also great fun! The daily view of the growing plants and the anticipation of the harvest bring a piece of nature and relaxation into your everyday life. You don't need much space, not much time – just a little curiosity and the joy of trying something new. Microgreens are little nutrient powerhouses that strengthen your immune system, especially during the cold season.
Just get started, plant your first tray and in a few days you will be harvesting fresh, healthy greens directly from your windowsill.
It's bound to work with this!
Autumn is the perfect time to prepare your vegetable patches for next spring. A little effort in the autumn will save you a lot of work in the spring, while also ensuring healthy, nutrient-rich soil. In this article, you will learn how to winterise your vegetable patches and what is particularly important when doing so.
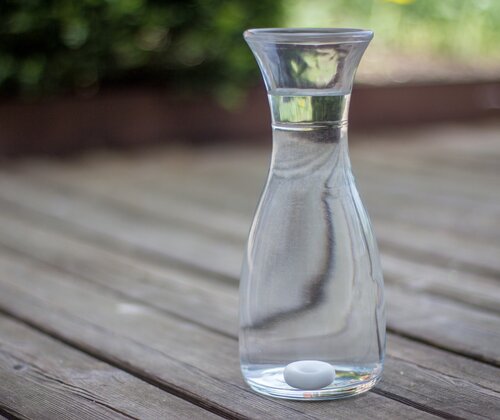
EM ceramics have antioxidant properties that can help you in your home and garden. You can use them to revitalise drinking and irrigation water, store food, improve the quality of pond and pool water and strengthen your plants. But how does it actually work? In this article, you will learn from Barbara Enengel what types of EM ceramics are available, how they work and how you can use them in your everyday life.
